
After cutting the acrylic sheets, the next step will be using dri-bit to create an opening for the sensor and an opening at the back for the cables.

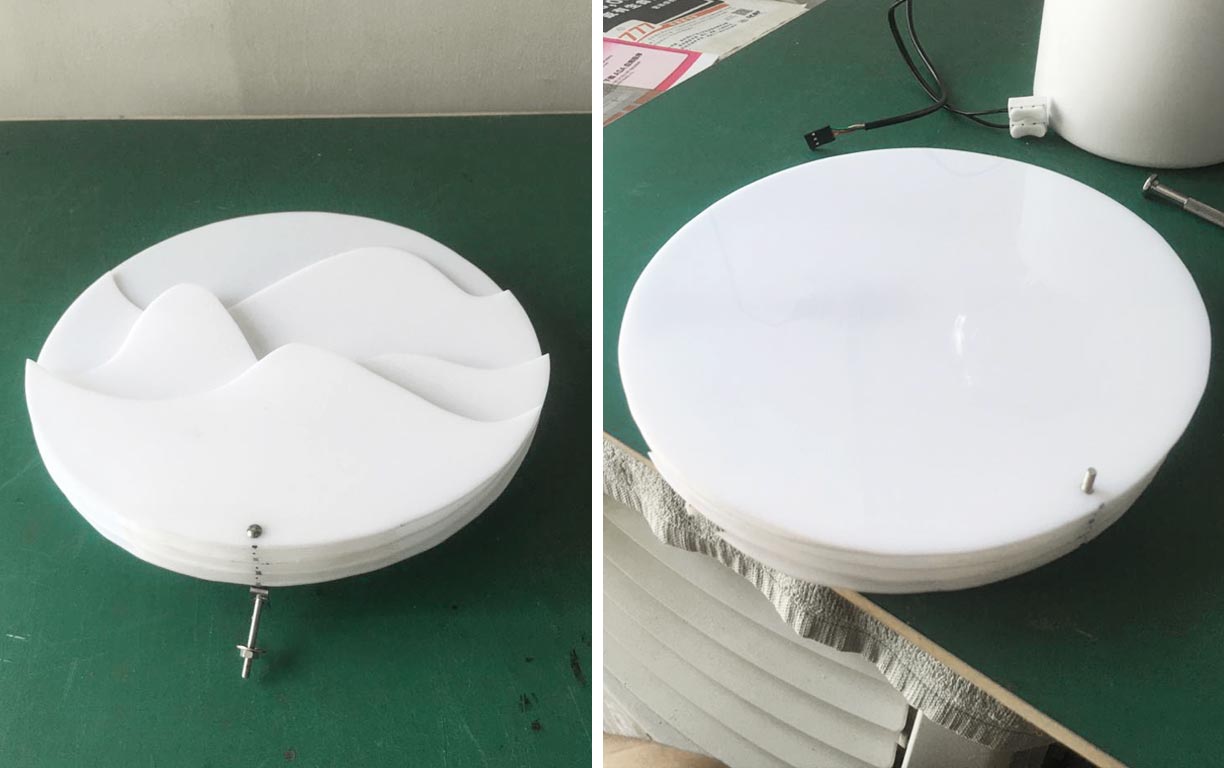
Testing the light with acrylic sheets. I got the opal white sheets instead of the full white acrylic sheets, so there could be minimal light and shadow play. We realised that the light is too bright so my dad cut 1 more full acrylic circle and placed it as the 5th piece.

He measured the position for the sensory and cut an opening for it


No comments
Post a Comment