 After both pieces of resin cases are done with wet sanding
, including their side seams flat and smooth, I matched the seams and taped them together.
I did wet sanding for the base so that it will be stable when I join the seams.
I applied epoxy resin on the seams and match it to the other piece
To make sure the pieces don't fall apart, I taped them together. After 6 hours, I went back to the workshop and the seams are cured.
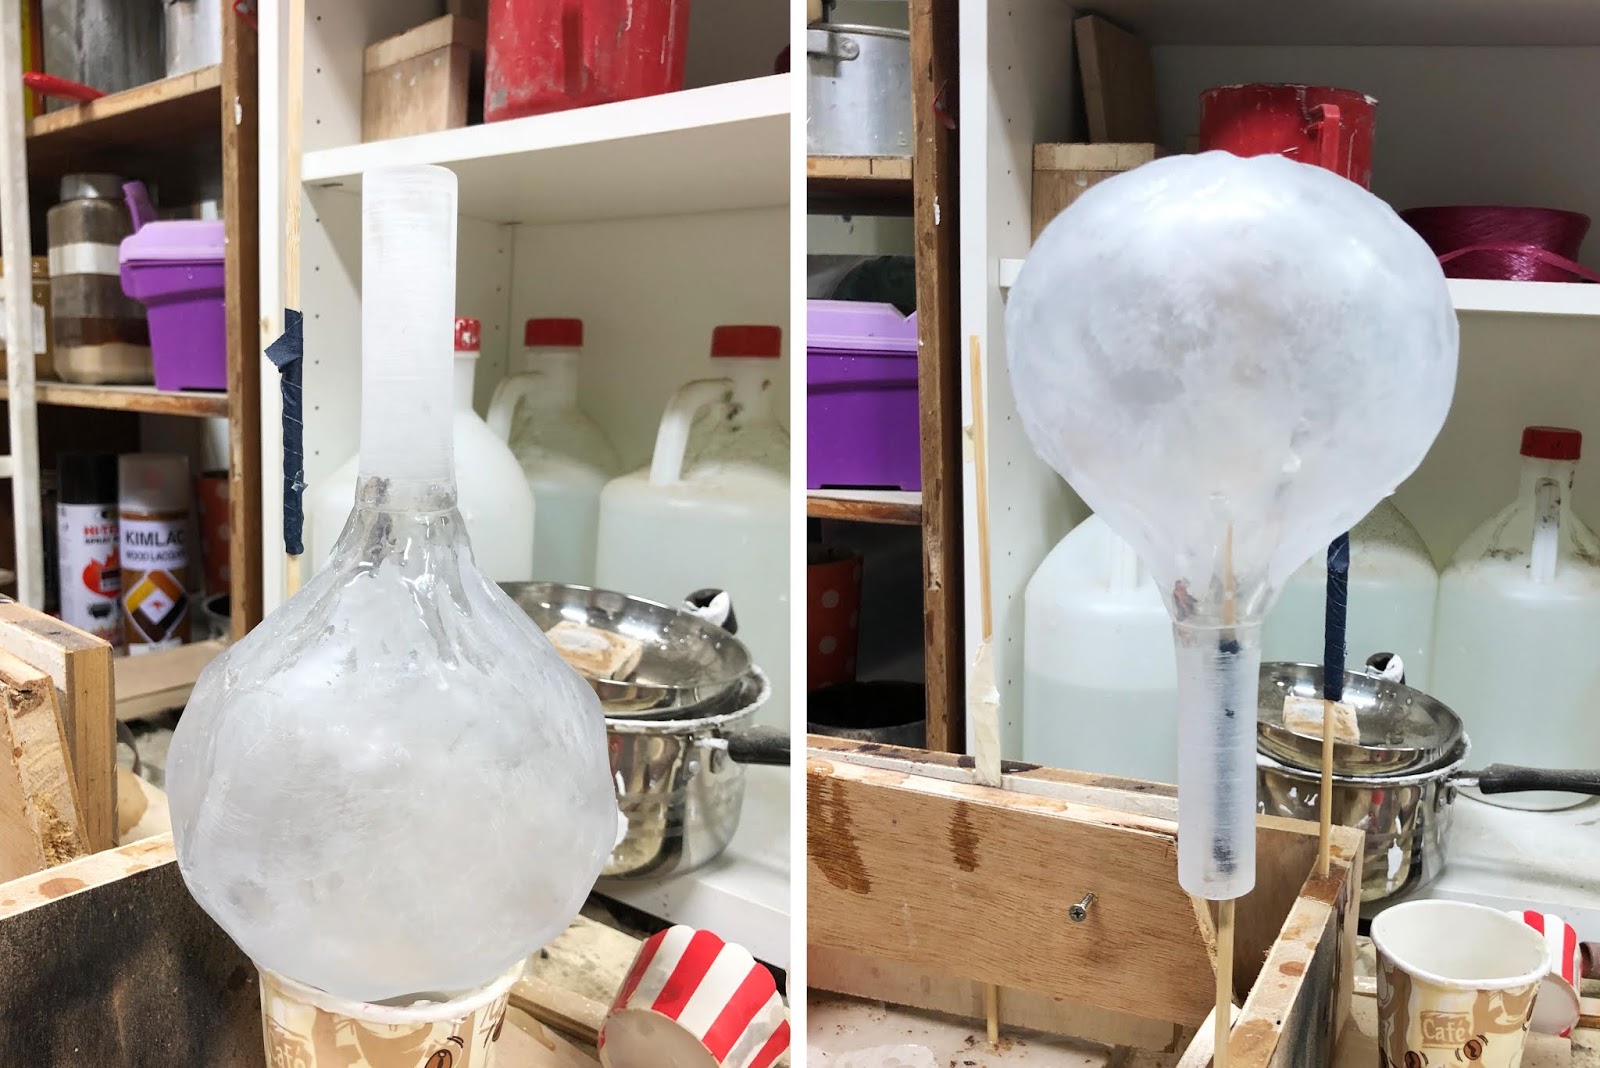
As I have done wet sanding on the inside case, it is now matte and I have to pour epoxy resin inside and make sure the surface is briefly coated otherwise it won't be clear when the light shines through. The reason why I did wet sanding on the inner case is because the surface was sticky and I had to sand off the sticky hardener. I swirled the case in different directions with the epoxy resin inside and made sure the surface is covered, or most of it hopefully.
Chopping off the base as we don't require it, the base was added to support the silicon rubber pouring and joining of seams
Next I did wet sanding for the joint surfaces (stand and main resin case) to make sure the surfaces are flat, smooth and suitable for joining.
Applying epoxy resin to the resin case side and attached the stand to it.
The joint took about 6 hours to cure and I went back in the late afternoon to do surface coating
Finally last step to finish off the resin case, epoxy resin for the surface coat.
On a side note, I took photos of the silicone rubber mold to share how they look like on the inside.
This is for the final resin case
This was for the
initial uneven surface resin droplet. We made 2 of this. This is the uglier version, I didn't cut open the better version as I might still need it for further experimentation.
This was for
one of the experimental testings


No comments
Post a Comment