
After
testing with the 1st resin droplet, the light effect seems promising so we moved into the production of other resin droplets. The whole process took about 2 weeks, as I have only 1 silicone mold for the uneven shaped 3D droplet, I decided to
scrap the experiment for the larger droplet and use the 2kg silicone rubber I bought earlier to create another mold for the uneven shaped 3D droplet. I didn't want to buy more silicone rubber as it's very expensive and I'm running out of time. This way I can do 2 resin pourings a day and it can shorten the production days. Each resin pouring takes 1 day to cure, after that there is wet sanding to be done and another day to wait for the epoxy surface coating to dry.
With no time to lose, I created another foam container for the silicon rubber pouring.
Luckily the new silicone rubber mold only took 1 day to cure so we could
cut it open and create the side registers.
I went to get more acrylic tube from Dama, this time I got the 2cm acrylic tube so more LED strips could fit instead of 1.5cm, it is a little risky as the droplet opening is 2.5cm but luckily it works.
Using a saw, I measured the acrylic tubes and saw them accordingly.
When at Dama, I saw interesting acrylic sheets which may be used for testing. I didn't get them in the end, keeping in mind.
After cutting the tubes into 6 parts, I had to buff the ends and make sure the surface flat and smooth.
I went to Evergreen to get more Araldite epoxy adhesive
We laser-cut a few acrylic circles so we could attach them to the ends of acrylic tube. I used Araldite to glue them together.
Back to the polyester resin pour, measuring, adding hardener and vacuum degassing
Unfortunately, the resin will sink a little once it is cured and we couldn't afford to fill it up in the silicone mold and wait another day for it to cure. So we removed the droplets, taped the top and fill it up with the resin.
This way, we could fill up the other 2 silicone molds for faster production.
After the resin droplets are cured, the wet sanding process takes place
After sanding, we moved to surface coating with epoxy resin
In a nutshell, each resin droplet takes about 3 days to finish.
1. Measure and pour polyester resin, 1 day to cure
2. Tape the top and fill up the gap, 1 day to cure
3. Wet sanding and apply surface coating, 1 day to cure
I have 2 silicone molds and I made extra droplets just in case I accidentally break any during the testing. In the end, I have 8, it took me about 12 days to produce them.
The second droplet is a little yellow as that was the day I took over from Grant, he helped me for the first day and I did the remaining production myself, I didn't stir the catalyst well and the resin isn't well mixed, thus leading to it being a little corroded. I made sure to stir well for the rest and luckily they turned out well
My work space
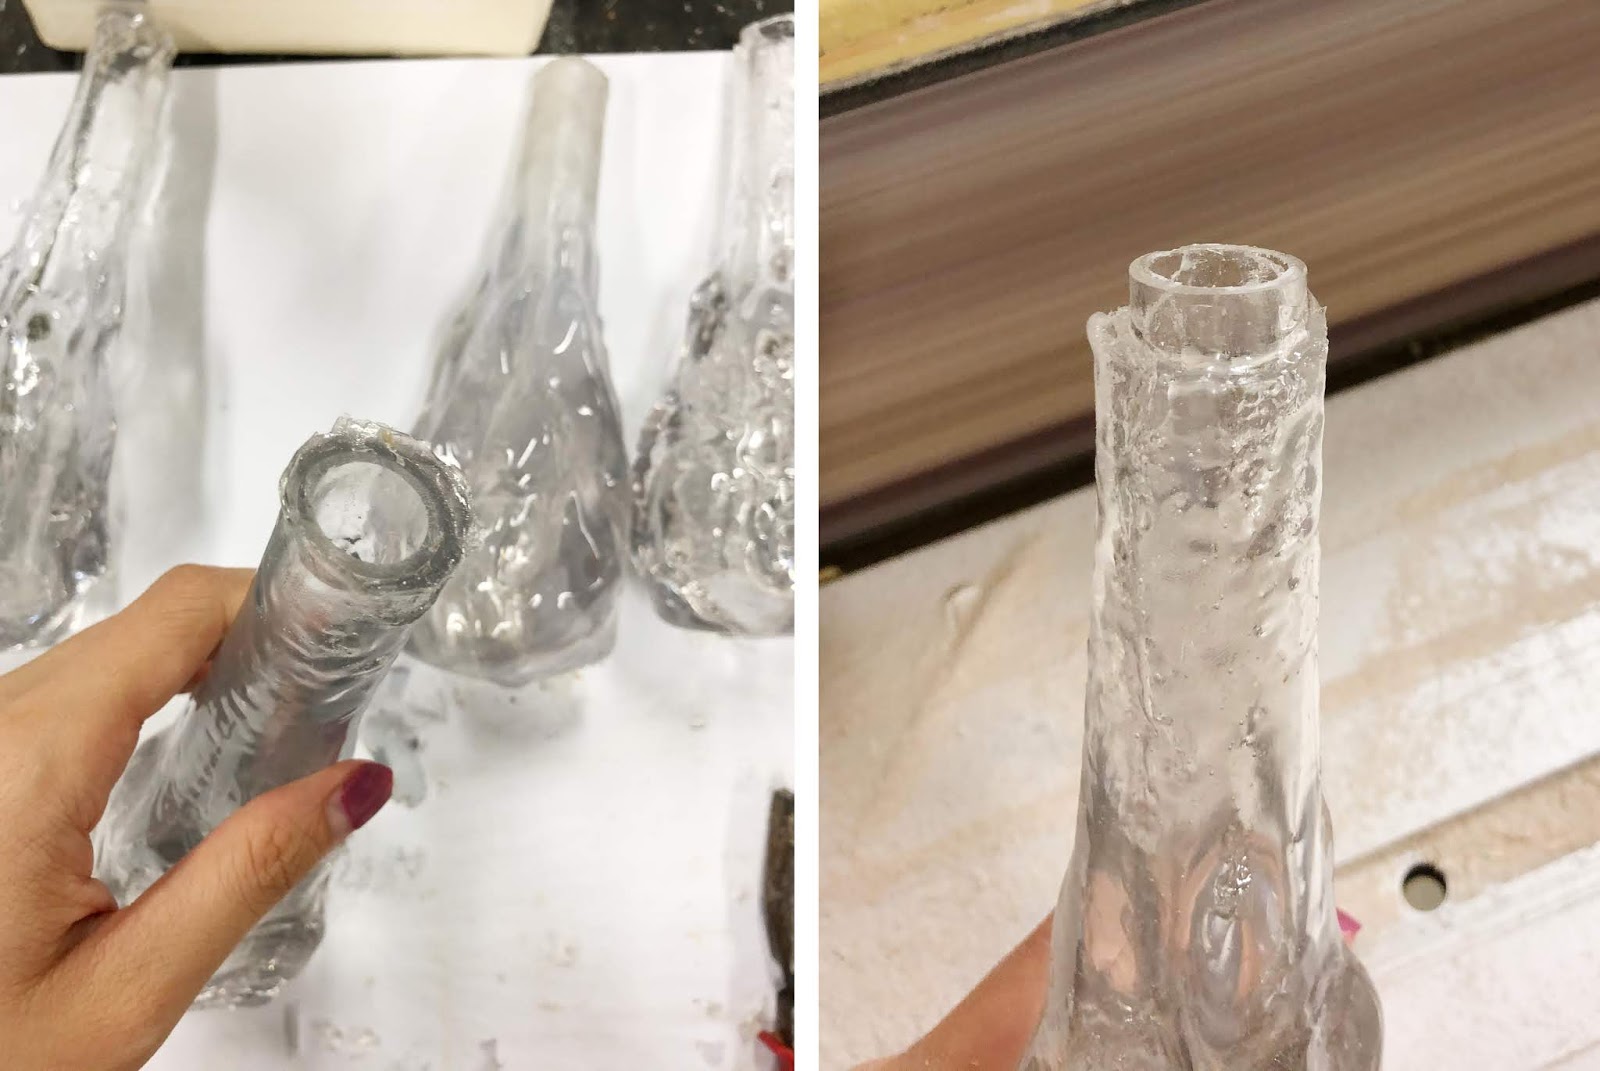
After all the resin droplets are completed, I did sanding / buffing for the openings as the edges and surfaces were uneven
After sanding, the surface is flat and even. This step is important as we need the surface to be smooth in order to attach the holders

My dad did a rough design on potential holders, he wanted to use metal plate and fishline for the holders. My initial plan was to finish the resin droplets with Grant and I will work on the kinetic set-up with my dad and Jason as there was a lot of uncertainties due to Covid-19 plus Grant had to guide other students and I always have to wait for my turn which can take some time, I didn't really have much time and I didn't want to bother him too much. However Grant was willing to help me as much as he can for the set-up so we decided to 3D print the holders.
Using Araldite adhesive, we glued the holders to the droplets. Grant kindly demonstrated one time and I did the rest.
Next, we will be planning for the kinetic set-up, installing motors and wood cutting.
I only finished the resin droplet production on 20th Feb, but I'm going to set the blog post date to 12th Feb so the blog flow is not disrupted by other posts and is easier to follow.


No comments
Post a Comment