
We have prepared
most of the necessary parts for the actual set-up but missing some 3D printed parts. We had a discussion with Grant and he mentioned that he has other ideas on the set-up that doesn't involve Arduino and programming. Instead of using a stepper motor that we were going to program, he intends to calculate the speed based on a suitable DC motor and 3D print customised gears to control the motion. The set-up proposed by Grant includes these main items:
1. Indonesian plywood
2. 3 rubber wheels swivel single ball bearing
3. Screws, washers, nails
4. 3D printed gears, spinners and holders
5. A DC motor
Preparing the files for CNC wood cutting, got the plywood from Ban Heng
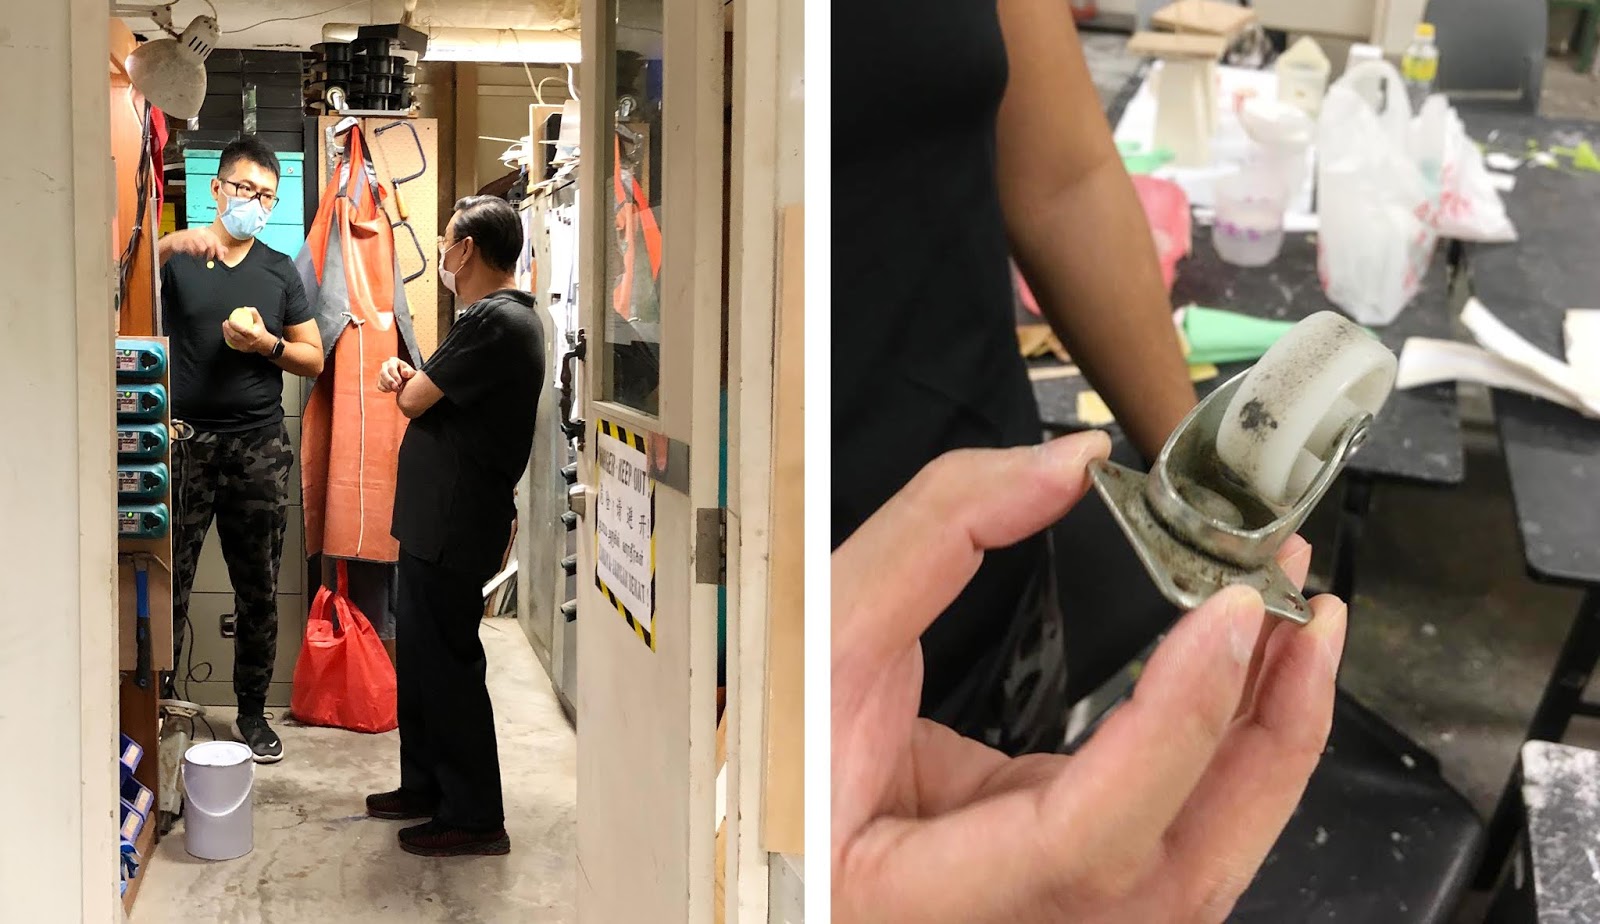
Discussion with Grant and a sample of rubber wheel to get
Starting the CNC wood cutting
The cutting took about 1.5 hours, which was faster than I expected
Sanding off the uneven and prickly edges for a smoother surface, took about 1.5 hours
Designing the 3D print holders and spinners, printing took about 3 hours.
While waiting for the 3D print, we went for lunch and bought a 12V motor, 65RPM, it can hold up to 6kg, our set-up is about 4kg
3D printed parts ready to be installed
Prepping the crank
Attaching crank to the upper wood plate
Testing the spin
Prepping the wood spinner for crank
Attaching 3 rubber wheels to wood spinner and crank
Attaching the 3D printed holders and spinners, these spinners are meant to minimise the friction of fishline motion
I attached the remaining 4 after Grant's demo
Based on the DC motor speed, Grant did calculation and designed the gears to achieve the desired speed for the motion
Testing the motor
Printing the gears
My neighbour does fishing and has a variety of fishlines, he gave me one that could hold up to 9kg
Grant demonstrating the correct way on how to tie the fishline to the resin droplet holders securely
I did for the remaining 4. I prepped a backdrop stand at the workshop so we could test the set-up when ready. Next we will be assembling the set-up and do the testing.


No comments
Post a Comment